A construction project hub
The page a site supervisor opens before the morning brief: where every active project stands, the safety links a crew actually uses, and the company news worth knowing. Below is a concept design for Redrock Construction, built entirely from web parts that ship with SharePoint.
- Audience field crews and project managers
- Build time about one day
- Licensing Microsoft 365, no add-ons

Every crew, every site.
One Redrock.
Drawings &
Documents
- Current drawing sets
- Specs & submittals tracker
- Standard work methods
- Site logistics plans
- Project closeout packs
Safety &
Compliance
- Report a hazard or near-miss
- Toolbox talk schedule
- Material safety data sheets
- PPE order form
- Site inspection log
Crew &
Payroll
- Submit your hours
- Expense claims
- Tool & equipment requests
- Benefits & union info
- Book time off
Company News
Add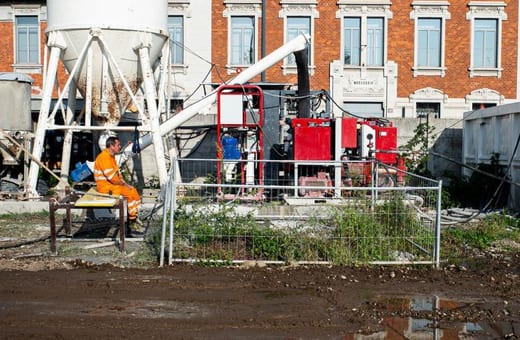 Redrock crews pass one million safe hours The safety team confirmed the milestone this week — one million hours worked across our active sites with no lost-time injury.
  New equipment yard opens on the east side The east-side yard is stocked and running, cutting haul time for plant and materials to our downtown projects.
  Harbour Terminal job named project of the year The regional builders association recognised the Harbour Terminal rebuild for its safety record and on-time delivery.
 Events
Add event OCT20 Site safety stand-down
  NOV5 Quarterly crew briefing
  NOV13 Apprentice skills day
  DEC12 Year-end crew dinner
  Carmen Ortiz
 the Month
Congratulations to Carmen Ortiz, Site Supervisor, for leading the Harbour Terminal crew to a full year with zero lost-time incidents!
Project Highlights
- Progress: 65% Complete
- Est. Completion: Dec 2025
- Budget Status: On Budget (92% of funds allocated)
- Safety Record: 0 Incidents YTD
- Workforce: 85 Crew Members On-Site
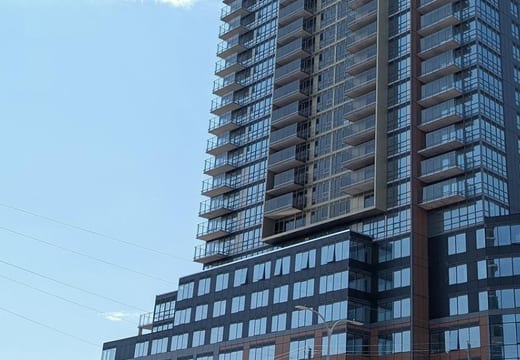
- Progress: 40% Complete
- Est. Completion: June 2026
- Budget Status: Slightly Over Budget (+4%)
- Safety Record: 1 Minor Incident YTD
- Workforce: 120 Crew Members On-Site
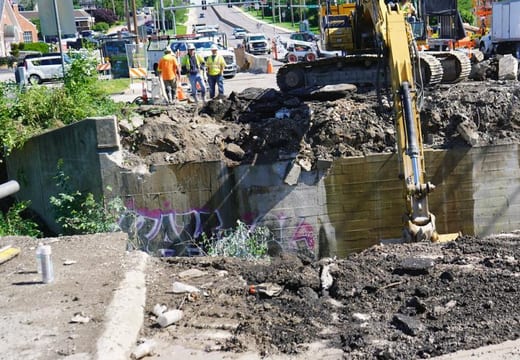
- Progress: 15% Complete
- Est. Completion: Sept 2027
- Budget Status: On Budget
- Safety Record: 0 Incidents YTD
- Workforce: 60 Crew Members On-Site
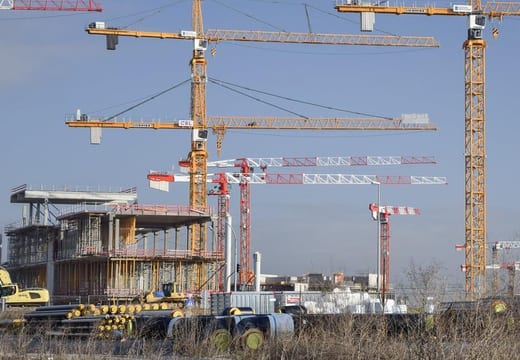
KPIs & Dashboards
Concept design, hand-coded to preview the layout. Redrock Construction is fictional; all names, numbers and photos are illustrative. The real page is built directly in SharePoint.
Want help building yours? hello@tenantcraft.ca
What you’re looking at
Nothing on that page is custom-built. Every block is a standard SharePoint web part, set up by an editor with permission to the site.
Click a card to see the exact steps for building it.
01 Hero web part The excavator banner with the headline over it is a single Hero web part. An editor sets the image, the focal point and the text, nothing more.
- Edit the page, then click the circled + to add a section.
- Choose the Hero web part and pick the single-image layout.
- Upload the banner photo and drag the focal point onto the subject.
- Type the headline; it sits in the layer over the image.
02 Quick Links: tiles layout The four numbered photo cards are one Quick Links web part. Each tile has its own image and destination; the numbers and captions are part of the link.
- Add a web part below the hero and choose Quick Links.
- Switch the layout to Tiles so each link shows as a photo card.
- Add four links; give each a custom image and a short label.
- Reorder by dragging; the numbering follows the order.
03 Coloured resource panels The three red panels are Quick Links web parts sitting on a section with a brand-colour background. The section colour is a built-in setting.
- Add a three-column section to the page.
- Hover the section's pencil handle and pick a background colour.
- Drop a Quick Links web part into each column, set to the list layout.
- Add the document and form links under each heading.
04 News web part Company News is the News web part. Anyone with edit rights publishes a post and it surfaces here automatically, newest first, with no list to tend.
- Add a web part and choose News.
- Set the news source to This site.
- Pick a layout and how many posts to show.
- Staff use + New, then News post; new posts appear here.
05 Events web part The dated event list is the Events web part. It reads a SharePoint calendar and shows what is coming up, with the date chip drawn for you.
- Create or pick an events list on the site.
- Add the Events web part to the page.
- Point it at the list and choose the compact layout.
- Add events to the list; the page view follows.
06 Image + Text web part The Employee of the Month card is an Image web part paired with a Text web part inside a one-column section, a simple editable spotlight.
- Add a one-column section for the spotlight.
- Drop an Image web part and upload the photo.
- Below it, add a Text web part for the name and citation.
- Refresh both each month; no template needed.
07 Project Highlights Each project row is an Image web part beside a Text web part in a two-column section. The stats are plain text, updated by the project lead.
- Add a two-column section for each project.
- Place an Image web part in one column, text in the other.
- Type the progress, budget and safety figures into the text.
- Repeat the section for each active project.
08 Quick Chart + Power BI The KPI tiles are Quick Chart web parts for the simple visuals. The on-time gauge can be a Power BI tile, embedded with the Power BI web part.
- For a bar or line chart, add the Quick Chart web part and enter values.
- For richer dashboards, build the report in Power BI first.
- Add the Power BI web part and paste the report link.
- Choose which tile of the report to display.
More from the Studio
All scenarios →TWENTY MINUTES, NO PITCH
Tell me what is stuck. I will tell you what it takes.
Same consultant from the first email to the last cutover. If I am not the right fit, I will refer you to someone who is.