A finance team intranet
The page a finance team opens every morning: where the close stands, what changed in policy, and the handful of links they use through every reporting cycle. Below is a concept design for one team, built entirely from web parts that ship with SharePoint.
- Audience a corporate finance team
- Build time about one day
- Licensing Microsoft 365, no add-ons

One ledger. One calendar.
One finance team.
Finance News & Announcements
Add Branch fit-up program is tracking under budget The downtown capital project is running 6% below the approved budget at the halfway mark. The capex summary and the revised forecast are posted for the next finance review.
  Q1 results: lending margin beat plan by 40 basis points Net interest margin held above forecast through a noisy quarter. FP&A has posted the board pack with commentary on what drove the beat and where Q2 risk sits.
  The finance team joined the Lakeside community food drive Twelve of us spent Saturday morning sorting and packing at the Lakeside Centre. Thanks to everyone who came out, and to AP for covering the desk while we were away.
 Our Branches
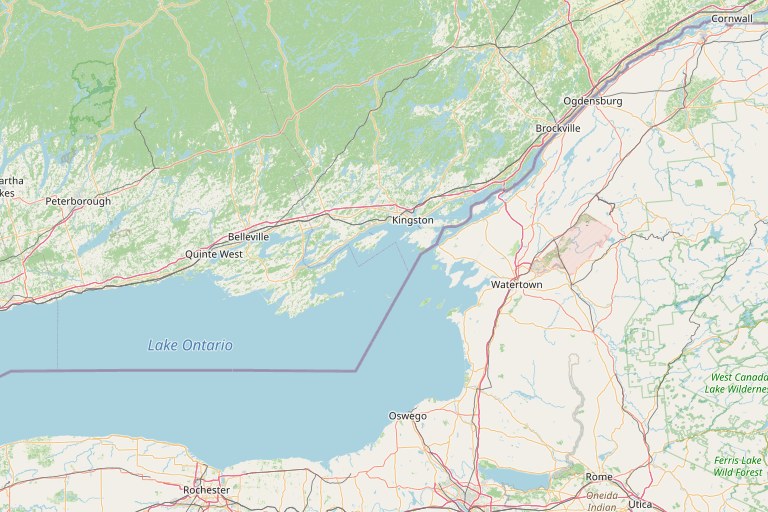 Kingston (Main) Belleville Peterborough Cobourg Brockville © OpenStreetMap contributors
 14 branches across Eastern Ontario · Find a branch
Close & Consolidation
- Month-end close checklist
- Account reconciliations
- Journal entry requests
- Intercompany & eliminations
Reporting & Analysis
- Board & management packs
- Budget vs. actual
- Forecast models
- KPI dashboards
Controls & Compliance
- Financial policies
- Audit schedule & findings
- Controls matrix
- FSRA regulatory filings
Accounts & Payments
- AP & vendor payments
- AR & collections
- Expense claims
- Payroll calendar
Performance & Transparency
Key financial metrics, refreshed at month-end.
 Excellence Award
Concept design, hand-coded to preview the layout. Harbourstone Credit Union is fictional; all names, numbers and photos are illustrative. The real page is built directly in SharePoint.
Want help building yours? hello@tenantcraft.ca
What you’re looking at
Nothing on that page is custom-built. Every block is a standard SharePoint web part, set up by an editor with permission to the site.
Click a card to see the exact steps for building it.
01 Hero + Quick Links The banner is the Hero web part; the six tiles overlapping it are a Quick Links web part. An editor sets each image and link, nothing more.
- Edit the page, then click the circled + to add a section.
- Choose the Hero web part, pick a layout, set each tile’s image and link.
- Below it, add a second web part: Quick Links.
- Switch Quick Links to the Grid layout; add each link with an icon and label.
02 News web part The list layout. Anyone with edit rights publishes a News post on the site and it surfaces here, newest first, with the author pulled from their profile.
- Add a web part and choose News.
- Set the news source to This site.
- Pick the List layout and how many posts to show.
- Staff use + New, then News post; new posts appear here, newest first.
03 Bing Maps web part “Our Branches” is the native maps web part. Add an address and SharePoint drops the pin. No embed code.
- Add a web part and choose Bing Maps.
- Type a branch address into the search box.
- SharePoint drops the pin and centres the map.
- Set the zoom level and pin label, then save.
04 Coloured sections The four resource panels are Quick Links web parts sitting on a section with a brand-colour background. Section backgrounds are a built-in setting.
- Hover the section’s pencil handle on the left edge.
- Pick a section background colour from the site theme.
- Drop a Quick Links web part into each column.
- Reuse the colour on other sections for rhythm.
05 Quick Chart + Power BI Bar and progress visuals are the Quick Chart web part. The gauge is a Power BI tile, embedded with the Power BI web part.
- For a bar or pie, add the Quick Chart web part and type the values.
- For richer visuals, build the report in Power BI first.
- Add the Power BI web part and paste the report link.
- Choose which page or tile of the report to show.
06 Copilot Agents web part The right rail is a dark vertical section. The agent cards are the SharePoint Copilot Agents web part: current, supported, no code.
- Create or pick an agent in Copilot, scoped to this site’s files.
- Edit the page and add the Copilot Agents web part.
- Select the agent, or agents, to display.
- Publish; staff can chat with it without leaving the page.
More from the Studio
All scenarios →TWENTY MINUTES, NO PITCH
Tell me what is stuck. I will tell you what it takes.
Same consultant from the first email to the last cutover. If I am not the right fit, I will refer you to someone who is.