A school-district intranet
The page a district communications team opens every morning: how many schools, how each one is performing, what is being announced this week, and which department a teacher needs to reach next. Below is a concept design for an 18-school district, built entirely from web parts that ship with SharePoint.
- Audience K-12 public school district
- Build time about one day
- Licensing Microsoft 365, no add-ons
Empowering Educators.
Supporting Staff.
Advancing Student Success.
Welcome to Evergreen Connect — the central hub for district communication, collaboration, and resources. Together, we drive excellence in every school, every classroom, and every department.
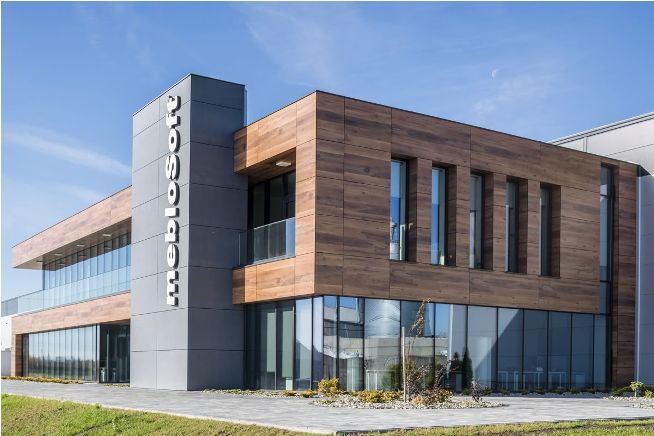
About Our District
Evergreen Meadows serves 8,500+ students across 18 schools. We foster academic excellence and character through innovative teaching and community ties.
District Highlights
Elementary Schools
District Announcements
Add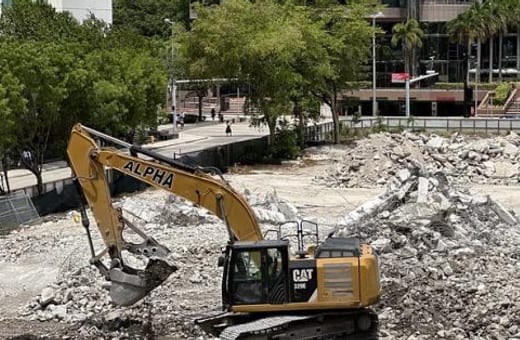 Strategic Plan Progress Update: Mid-Year Review Complete Evergreen Meadows School District leadership teams completed the mid-year review of the strategic plan, with measurable gains across all four priorities.
  Spring Professional Development Day – March 15 All instructional staff will participate in district-wide sessions covering literacy, assessment, and inclusive classroom practices.
 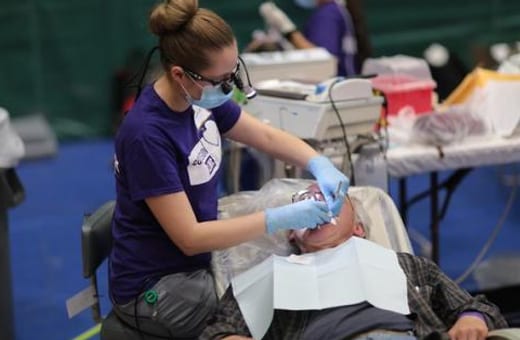 Open Enrollment for Benefits – April 1–15 Open Enrollment for the 2026 benefits year will take place in early April. Plan summaries and decision tools are now available in the HR hub.
  Transportation Procedure Update Effective March 4, revised afternoon dismissal and bus loading procedures take effect at all elementary buildings.
 Departments & Internal Resources

Superintendent’s Weekly Update
Thank you for your continued dedication to Evergreen Meadows students and families. This week, we celebrate strong literacy gains at the elementary level, innovative project-based learning at our middle schools, and continued progress toward our Strategic Plan goals.
We are also monitoring state legislative developments that may impact school funding and certification requirements. Updates will be shared as information becomes available.
Open Weekly UpdateConcept design, hand-coded to preview the layout. Evergreen Meadows School District is fictional; all names, numbers and photos are illustrative. The real page is built directly in SharePoint.
Want help building yours? hello@tenantcraft.ca
What you’re looking at
Nothing on that page is custom-built. Every block is a standard SharePoint web part, set up by an editor with permission to the site.
Click a card to see the exact steps for building it.
01 Hero web part The two-column welcome (copy on the left, building photo with an overlay card on the right) is the standard Hero web part in Two Tile layout, with a Text web part stacked beside it for the school-info card.
- On the home page, click Edit. Add a new section, One column, just below the site header.
- Click + Add a web part and pick Hero. In the property pane, choose the Two tiles layout.
- Click the left tile, then Edit (pencil). Set heading to Empowering Educators, Supporting Staff, Advancing Student Success. Add the supporting lede in the call-to-action.
- Click the right tile. Upload the building photo and set the focal point on the entrance.
- Add a small Text web part beside the Hero with the school-info card (address, hours, principal). Pin it to the same row.
- Republish. The Hero anchors the district homepage and stays sticky across breakpoints.
02 Quick Chart (District Highlights) The forest-green stats band (Schools, Staff, Students, Budget) is four Quick Chart web parts in Counter layout. Each one is a single typed number; no Power BI licence required.
- Add a new section, Four columns, with the section background set to dark forest green.
- In each column, click + Add a web part and pick Quick chart.
- For each chart, choose Counter as the chart type. Skip the data source picker; type the value in directly.
- Set the four counters: Schools 95%, Staff 82%, Students 15, Budget 18, plus the supporting labels.
- In each card, set the colour to white so it reads against the green band.
- When the numbers change, edit only this band; no Power BI workspace required.
03 Quick Links (Our Schools) The school directory uses one Quick Links web part in Grid layout, one tile per school, sorted by panel (Elementary, Middle, Secondary).
- Add a section, One column, with the section background set to Surface (cream).
- Click + Add a web part and pick Quick Links. Set the title to Our Schools.
- In the property pane, switch the layout to Grid. Toggle Show descriptions on; toggle Show icons off.
- Click + Add for each school. Title each tile, set its URL to the school site, add a one-line description.
- Group manually by panel: Elementary first, Middle second, Secondary last. Use the drag handle to reorder.
- New school joining the district? Edit this Quick Links once; the homepage updates immediately.
04 News web part District Announcements is the News web part in Side-by-Side layout, filtered to the district-wide category so school-specific posts stay on their own school sites.
- Add a section, Two columns (left wider). In the left column, click + Add a web part and pick News.
- Set News source to This site. Change the layout to Side-by-side.
- Add a filter: page property
Categoryequals District-wide. This keeps individual school posts on their own sites. - Set Number of news items to 4. Sort by First published date, descending.
- Authors create posts as News pages tagged District-wide; the web part picks them up on republish.
05 Quick Links + Events Staff Quick Links and Upcoming Events sit beside the Teacher Spotlight: Quick Links in Compact layout for the link rail, Events pulled from the district calendar with the audience filter applied.
- Add a section, Three columns, with the section background set to Mint.
- Left column: + Add a web part, Quick Links. Title it Staff Quick Links; layout Compact; add the 4-6 most-used staff links.
- Middle column: + Add a web part, Events. Source: the district calendar list. Layout: Compact; show 3 items.
- Add an audience filter on the Events list so staff-only events stay hidden from students.
- Right column reserved for the Teacher Spotlight (see next part).
06 People + Text (Teacher Spotlight) Teacher Spotlight is a People web part pinned to one staff member from the district directory, with a Text web part beside it for the citation. The avatar and title stay in sync with the directory automatically.
- In the third column of the previous section, click + Add a web part and pick People.
- Layout: Descriptive (one large card).
- In Add a profile, type the email of the featured staff member. Photo, title and contact pull from Microsoft Entra automatically.
- Stack a Text web part directly below for the citation (why they're being recognised this month).
- Rotate monthly: edit only this web part; the avatar and title stay in sync with the staff directory.
07 Hero + Text (Superintendent) The Superintendent's Weekly Update is a Hero web part in Single Tile for the photo and signature, paired with a Text web part below it for the message body and the call-out quote.
- Add a section, Two columns (narrow / wide). Background: Surface (cream).
- Left column: + Add a web part, Hero, One Tile layout. Upload the superintendent's portrait; set Show text block off.
- Right column: + Add a web part, Text. Type the weekly message; format the opening line as H3.
- Pull a key sentence into a Quote block (toolbar > Quote). It renders as a side callout.
- Add the signature inside the Text web part using the Signature font style.
- When the message changes weekly, edit only the Text web part; the portrait stays.
More from the Studio
All scenarios →TWENTY MINUTES, NO PITCH
Tell me what is stuck. I will tell you what it takes.
Same consultant from the first email to the last cutover. If I am not the right fit, I will refer you to someone who is.