An IT department intranet
The page an in-house IT team puts at the front door: where to file a ticket, the systems people use every day, the date of the next planned outage, and the after-hours number for the calls that cannot wait until morning. Below is a concept design for a mid-sized organisation’s IT hub, built entirely from web parts that ship with SharePoint.
- Audience in-house IT department
- Build time about one day
- Licensing Microsoft 365, no add-ons
Your Central Place for Support, Systems, Security & Training
Get quick access to helpdesk services, essential business apps, troubleshooting tips, password resets, security alerts, and training resources – all in one place.
Quick Links
How to Videos
§ Recent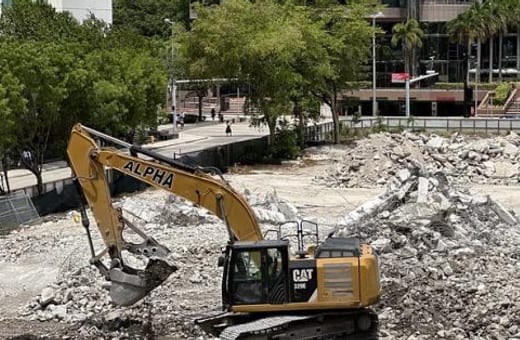
Network Maintenance
§ Countdown
Support & Help
§ HoursWe’re here to help!
Mon–Fri: 8 AM – 6 PM
Weekends: Emergency only
After hours, call 617-676-6767 for outages or VPN failures.
Company News
Add ❗ Network Maintenance – Friday 9 PM We will be performing scheduled… ⚠️ Phishing Alert: Fake HR Bonus Email Our security team has identified a…  🔐 Password Changes Required by Dec 31 As part of our annual security policy, all…
  🖨️ New Printers Installed on Floors 5 and 6 We've replaced the legacy printers…
 Common IT Tasks
Our Team


Thank an IT Tech
Send praise to your colleagues
Show gratitude for peers who went above and beyond at work
Send praiseConcept design, hand-coded to preview the layout. Algonquin Mutual Insurance is fictional; all names, numbers and photos are illustrative. The real page is built directly in SharePoint.
Want help building yours? hello@tenantcraft.ca
What you’re looking at
Nothing on that page is custom-built. Every block is a standard SharePoint web part, set up by an editor with permission to the site.
Click a card to see the exact steps for building it.
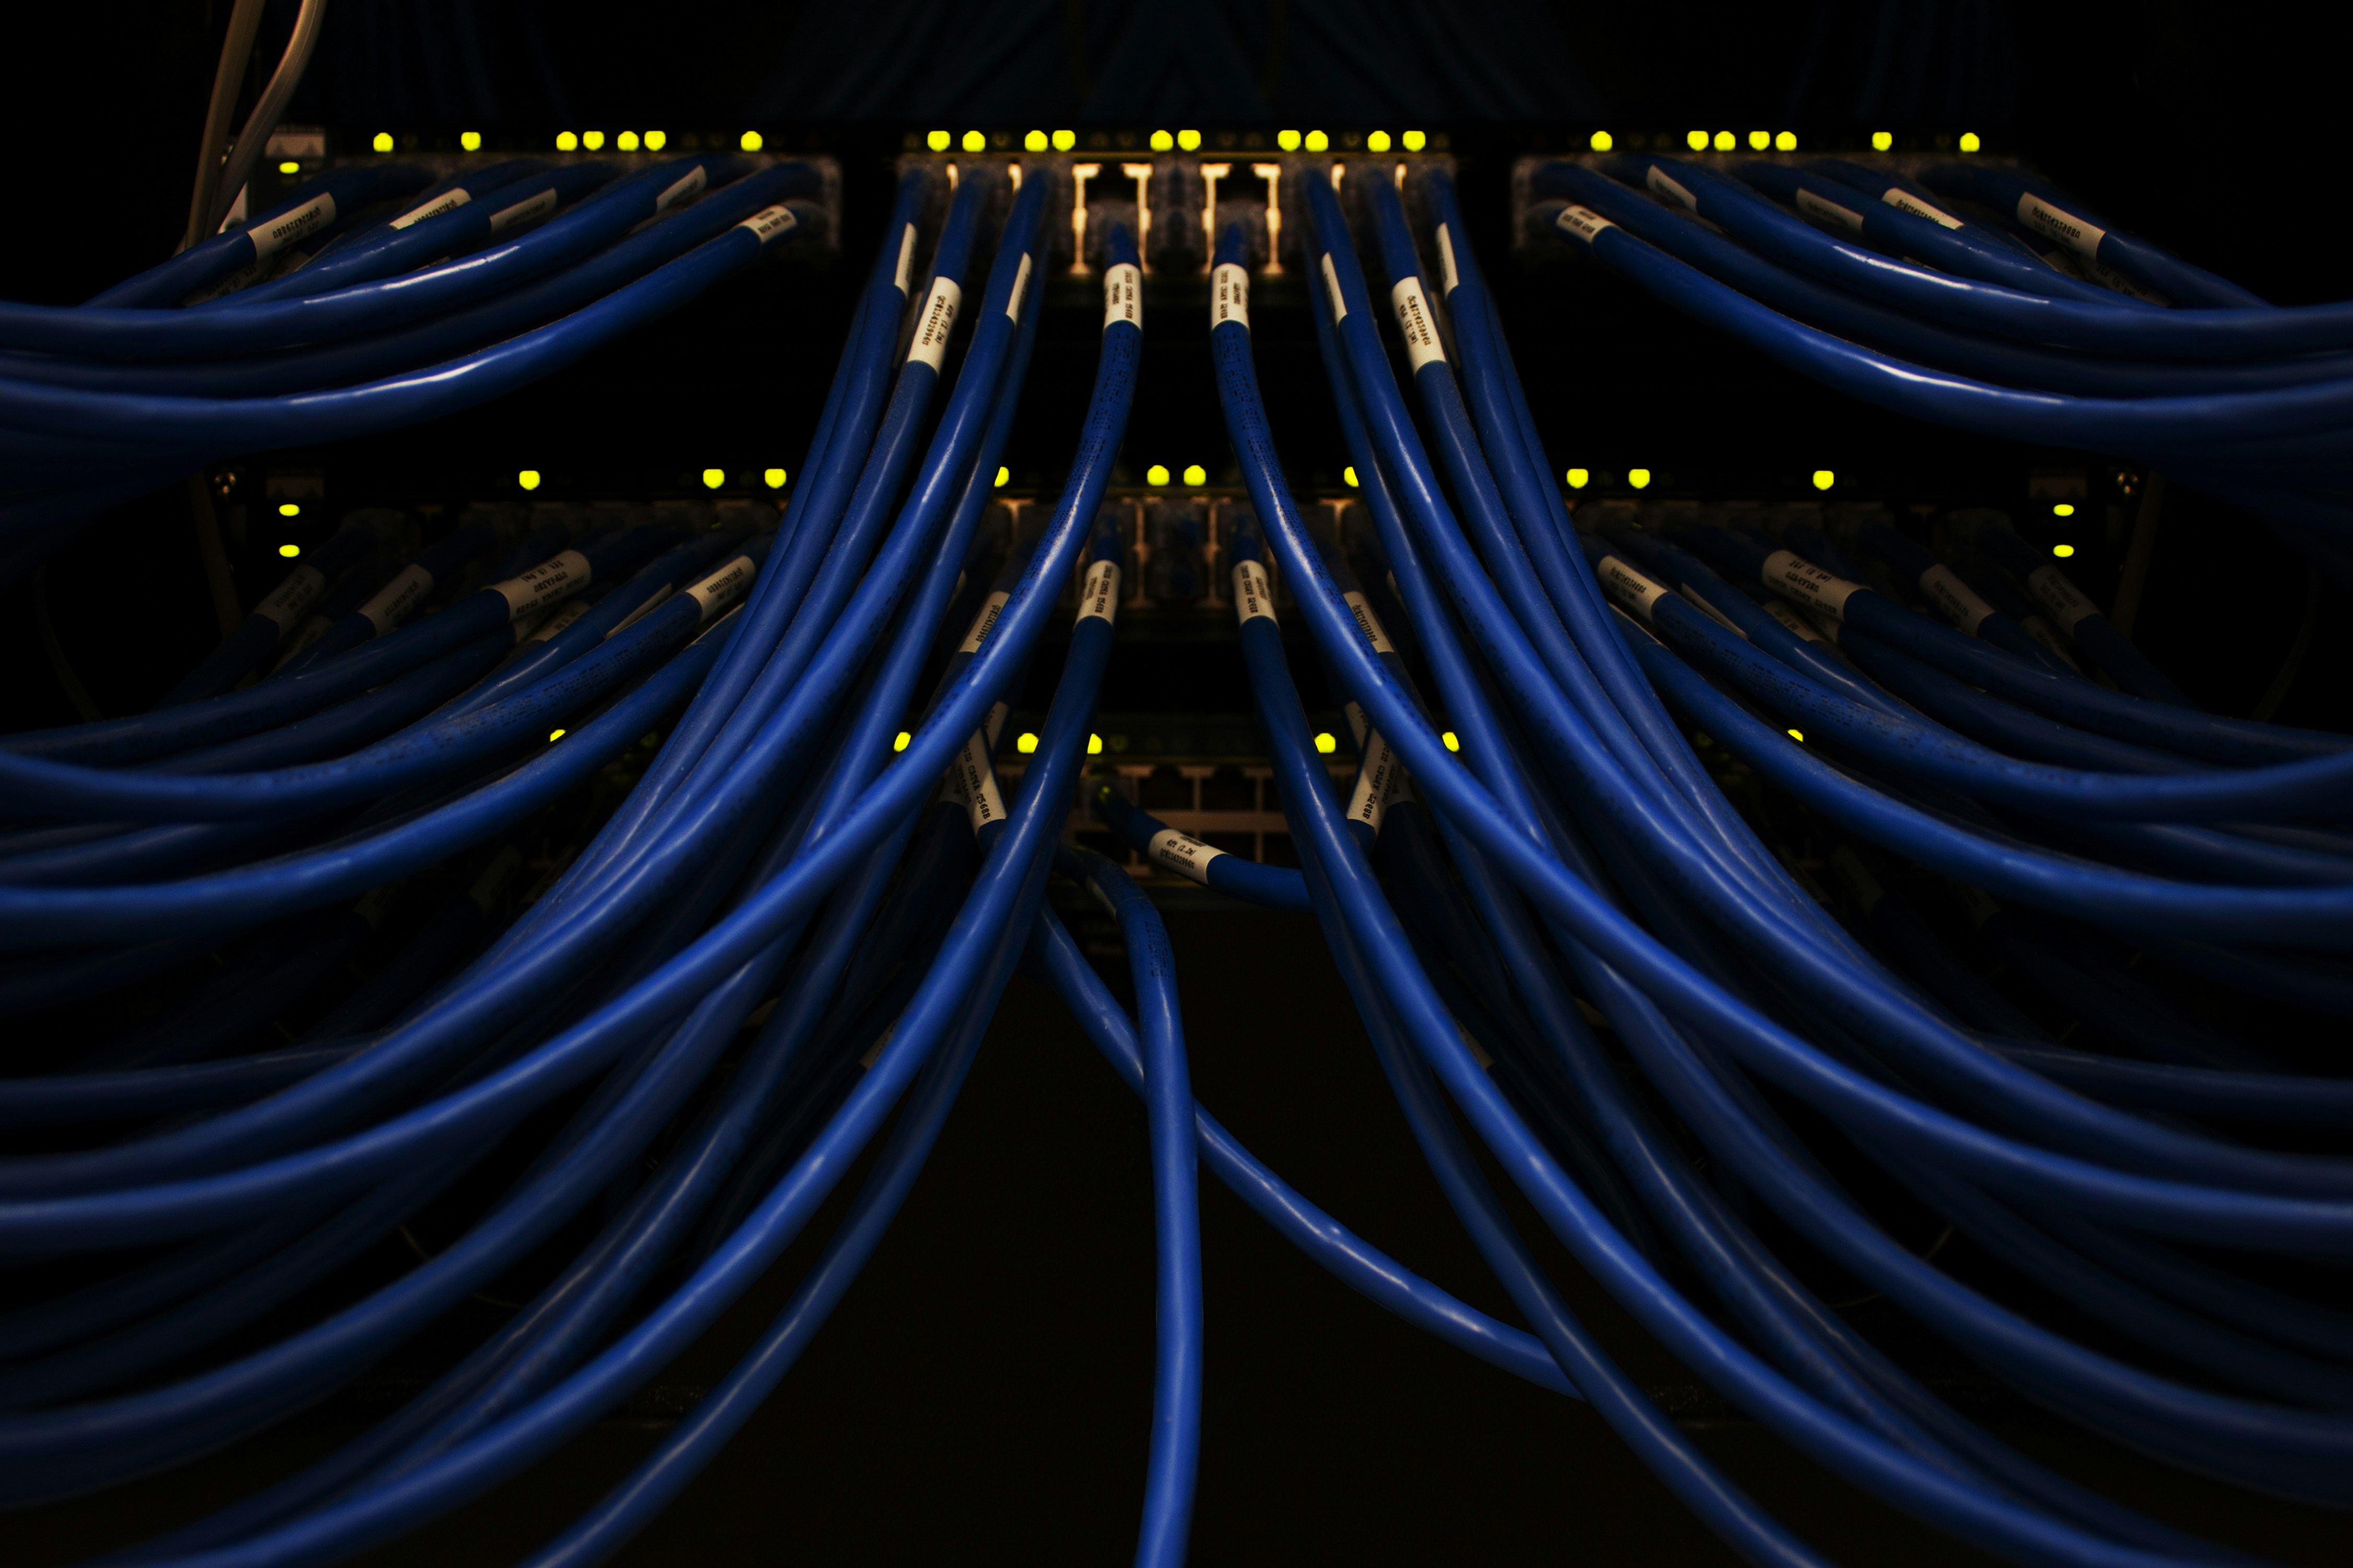
01 Hero web part The split blue-and-photo banner is the standard Hero web part with a single tile, a focal-point image, and a coloured panel layered over half the width.
- On the home page, click Edit in the top-right command bar. Hover below the site header and click + Add a section, then choose One column.
- Click + Add a web part inside the section. Pick Hero and choose the One Tile layout in the property pane.
- Click the tile, then Edit (pencil). Upload the server-room photo, set the focal point on the patch panel, and choose
Show text block. - In the text panel, set the heading to Your Central Place for Support, Systems, Security & Training. Add the supporting paragraph in Call to action.
- Under the colour palette in the right rail, switch the overlay to the brand blue so the photo and coloured half meet cleanly.
- Click Republish. The Hero now anchors the home page above every other web part.
02 Quick Links The five rounded helpdesk tiles, the news list and the common-tasks rail are all Quick Links web parts. Same web part, three different layouts.
- Add a section below the Hero. Click + Add a web part and pick Quick Links.
- Open the property pane. Set the title to Quick Links and switch the layout to Compact so the tiles sit in a single row.
- Click + Add for each tile. Add five items: Submit a Ticket, Request Software, How-To Guides, System Status, IT Knowledge Base.
- For each item, choose From the gallery for the icon. Pick the matching glyph: Chat, Folder, Book, Settings, Lightbulb.
- Point each item URL at the right destination in your tenant (a Form, a list view, a knowledge-base page).
- Repeat the same pattern for the Common IT Tasks rail (Stacked layout) and the news-list area below.
03 News web part Company News uses the News web part in List layout, filtered to the "IT" category so other departments’ posts don’t leak in.
- Add a section, three columns. In the left column, click + Add a web part and pick News.
- In the property pane, set News source to This site. Switch the layout to List.
- Add a Filter on the page property
Categoryequals IT. Set Number of news items to 4. - Sort by First published date descending so the freshest notices land at the top.
- Author each post as a News page tagged IT; the web part picks them up on republish.
04 Countdown timer The Network Maintenance card is the Countdown Timer web part, pointed at a single date with a hero background image behind the digits.
- In the same row, middle column, click + Add a web part and pick Countdown timer.
- Set the Title to Network Maintenance.
- In Date and time, enter the outage start in the site time zone. Time format Days, Hrs, Min, Sec.
- Toggle Show background image on. Upload the server-room hero (same crop you used in the Hero).
- Set the call-to-action link to your Outage details page so people can click through for the runbook.
05 People web part "Our Team" is a People web part pointed at the IT distribution list, so the avatars and titles stay in sync with the directory automatically.
- In the third column, click + Add a web part and pick People.
- Set Title to Our Team. Layout: Compact.
- In Add a profile, type the email of each IT team member. The web part pulls their photo, title and contact card from Microsoft Entra.
- Reorder with drag handles so the IT Director sits at the top.
- When someone joins or leaves, edit only this list; titles update automatically from their profile.
06 Text + Button The "Thank an IT Tech" praise card and the after-hours support box are Text web parts with a Button. No Power Automate flow is visible until you click through.
- Below the People web part, click + Add a web part and pick Text.
- Type the praise heading and the one-line description. Use the toolbar to make the heading H4.
- Click + Add a web part directly below the Text web part. Pick Button.
- Set the button label to Send praise. Point the link at your Praise Microsoft Form (or List + Power Automate flow).
- Repeat the same Text + Button pattern for the after-hours support callout in the upper row.
More from the Studio
All scenarios →TWENTY MINUTES, NO PITCH
Tell me what is stuck. I will tell you what it takes.
Same consultant from the first email to the last cutover. If I am not the right fit, I will refer you to someone who is.